Apple cider vinegar has many household uses ranging from cooking to cleaning. However, a large percentage of ACV’s benefits revolve around its healing properties.
You want to make sure your apple cider vinegar is organic, which is certain when you make it. When it is raw, it has the “mother” in it. The so-called “mother” is a naturally occurring substance, packed with beneficial enzymes. Apple cider vinegar itself is basically apple cider that has been fermented twice.
So you should ferment it once, and then once you get the hard stuff, ferment it again. This is how you get apple cider vinegar! (Recipe below)
Okay, so let’s go through the benefits now. There are numerous benefits, but we are just going to go through 3 of them.
The first one is that it helps to alkalize the body. Why is this important? To put it simply, serious diseases, cancers especially, thrive in an acidic environment.
- ACV is great at removing lactic acid from your body, so if you wanted to, you could actually add it to your post-workout smoothie or juice.
- It is also a natural energy booster. That’s why I recommend it as a perfect way to kick starts your day! Just mix 1-2 tablespoons with about 1 cup of cold water and enjoy. If you don’t like the taste, you can add some fresh lemon juice and/or a sweetener (preferably raw muddled stevia leaves). It’s great at treating allergy symptoms as well!
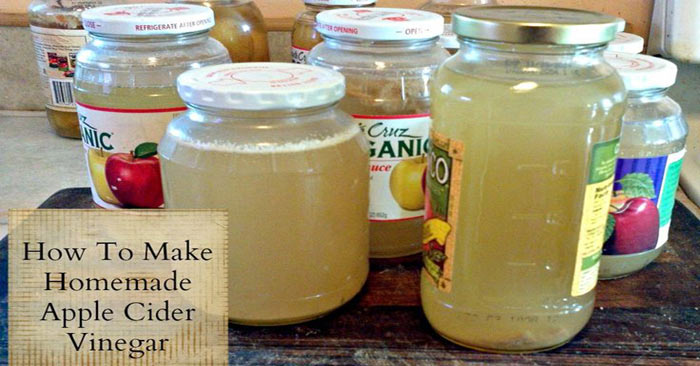
How to make apple cider vinegar at home
Ingredients needed:
Apple scraps (the cores and peels from organic apples are perfect)
- A large bowl or a jar with a wide mouth/opening
- A piece of cheesecloth that you will use to cover up the jar so that no debris or flies can get inside
- 1 part sweetener (sugar, honey, etc)
- 3 parts water
Directions:
1.Allow the scraps to dry. You will notice them turning brown which is just fine and perfectly normal. Add the scraps into the jar, then top it off with water.
You may continue adding scraps throughout the process as you have them. Just make sure, though, that there is enough space in your container if you plan to keep adding to it (not only do you need a larger container, but you also want to make sure you don’t fill the container with water or it will overflow as you add ingredients!).
2. Once done, you can cover up the container with the cheesecloth. Make sure that you secure the cloth properly. Store the jar in a dark yet warm storage space. A water heater closet or space near a radiator would be perfect for this purpose.
3. You will notice that the contents will start to thicken in a few days and you will see grayish scum forming at the top. When this happens, do not add any more scraps and let the jar rest for a month to allow fermentation.
4. After one month, you may taste-test your preparation. If you feel that it is strong enough for you, strain out the scraps from the container, so all that is left is the vinegar, which you can now transfer into clean bottles.
Note: Sometimes, the product will appear cloudy with sediments from the apples, but that is okay, that is what you need. However, if you do not like it cloudy, you can strain the liquid through a coffee filter or cheesecloth to remove the sediment.
Sources:
www.noordinaryhomestead.com
www.wesupportorganic.com